about
felifrei
some words about me:
Fascinated by the far north, the landscape, the wildlife and the people with their traditions, I started learning some traditional Nordic handicraft techniques a few years ago. I got enthralled with knitting Nordic patterns and I prefer to work with wool from native Nordic sheep breeds or wool from Icelandic sheep, if possible in organic quality and/or plant-dyed. In the meantime I have also started to design my own patterns. Knitting is one of my hobbies – not my profession. My home are the Swiss Alps.


Jumpers
Jumpers
and more ...
All garments listed below are for sale
Please send me a note by email for shipping and payment options
the full amount will be forwarded to animal welfare organizations – read more here
I don’t knit on demand
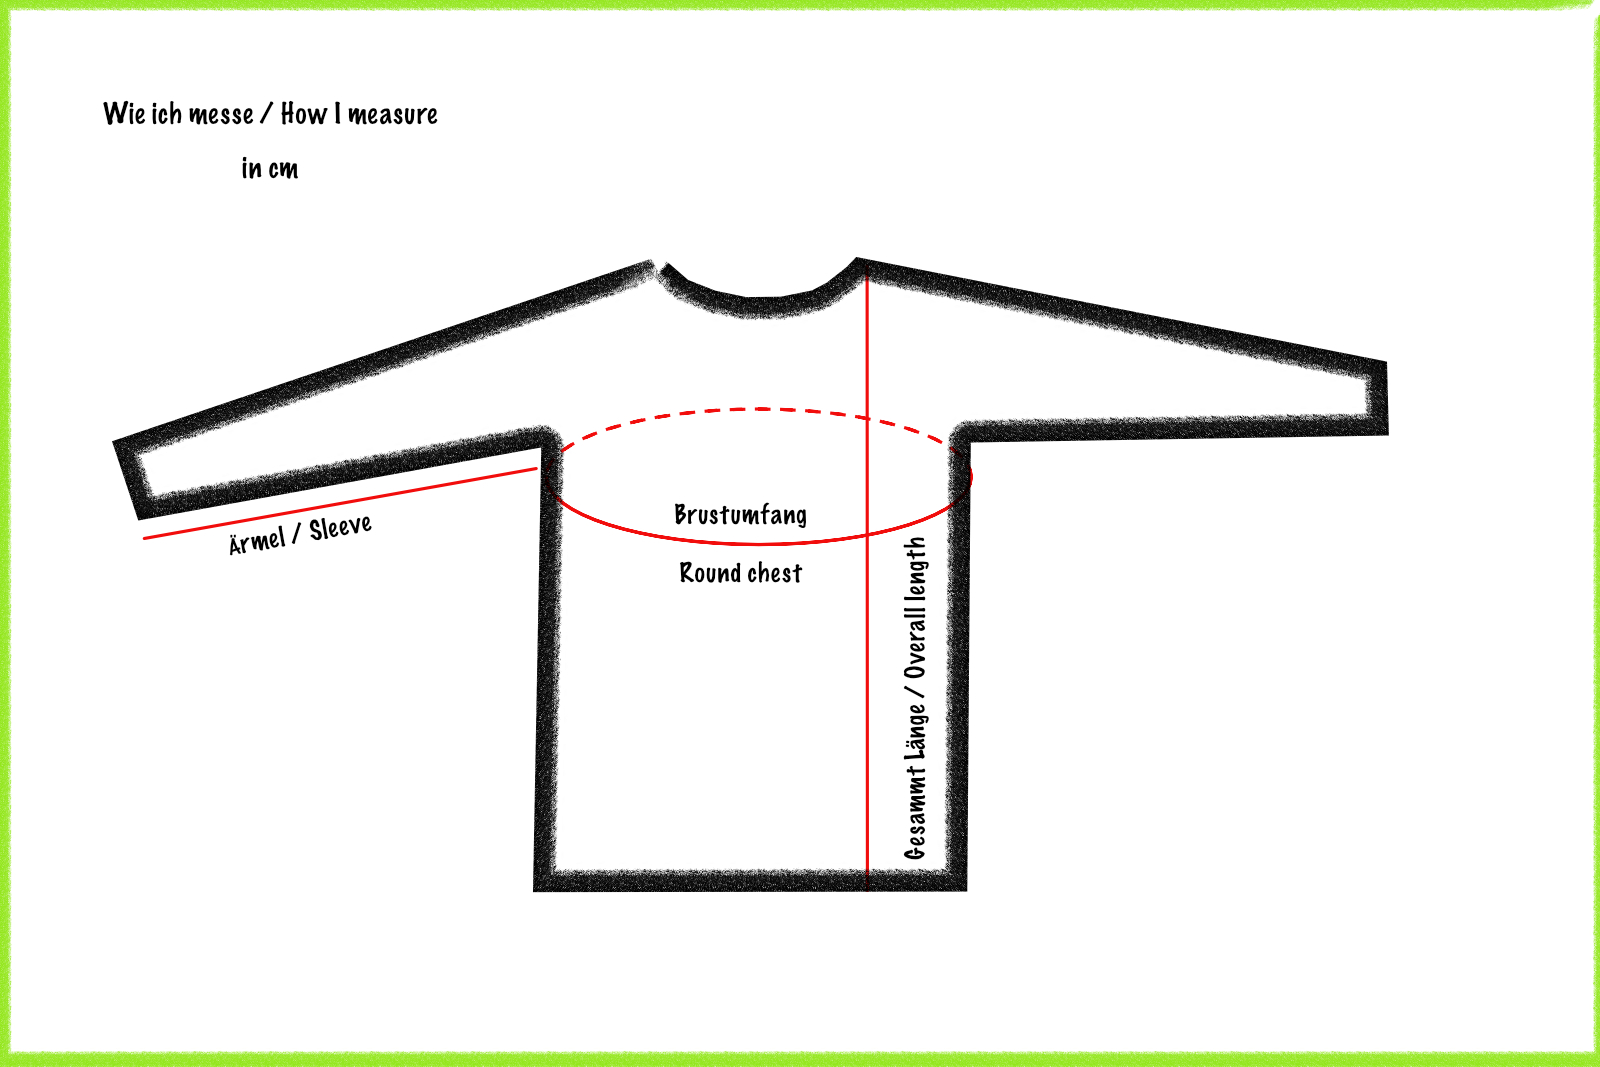
How I measure:
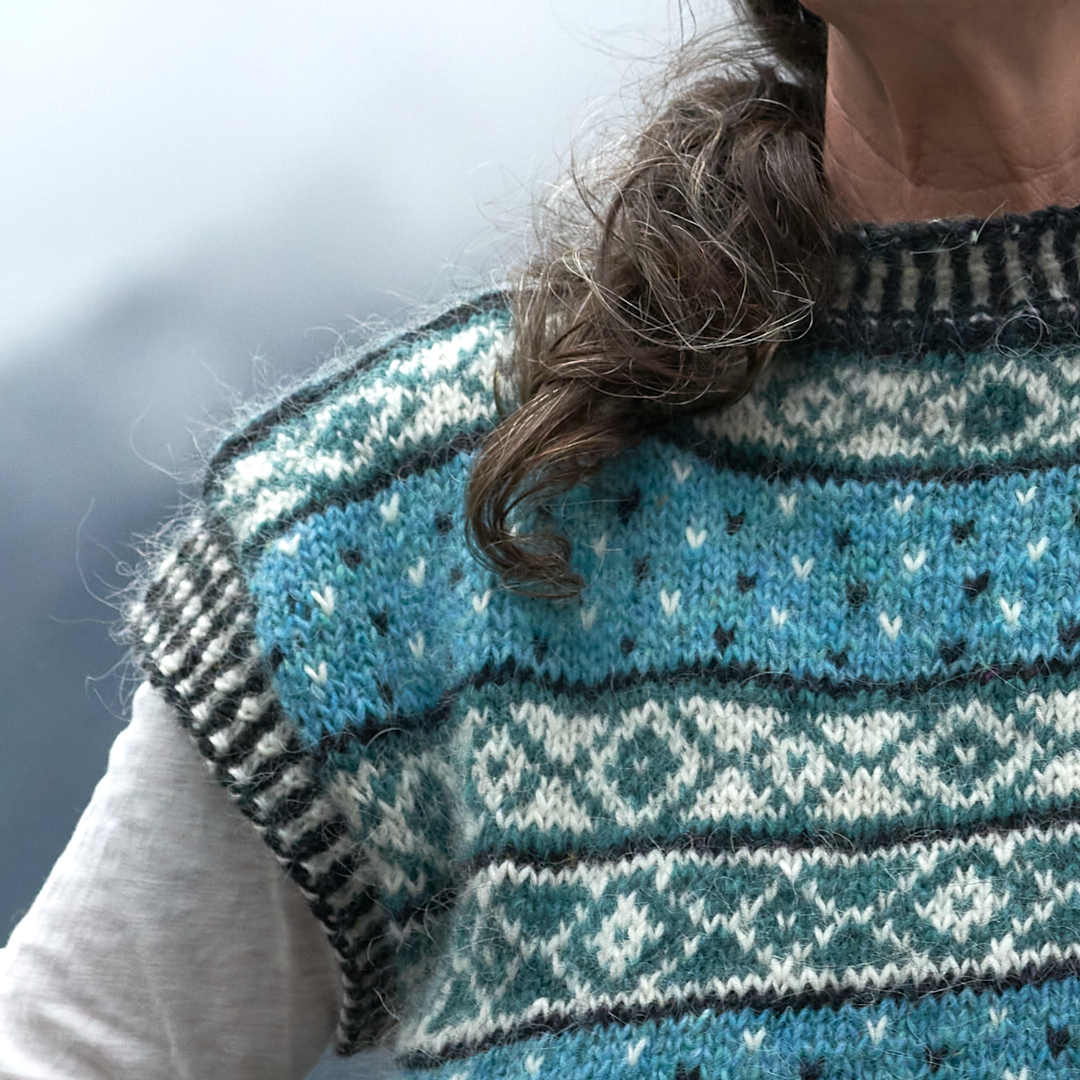
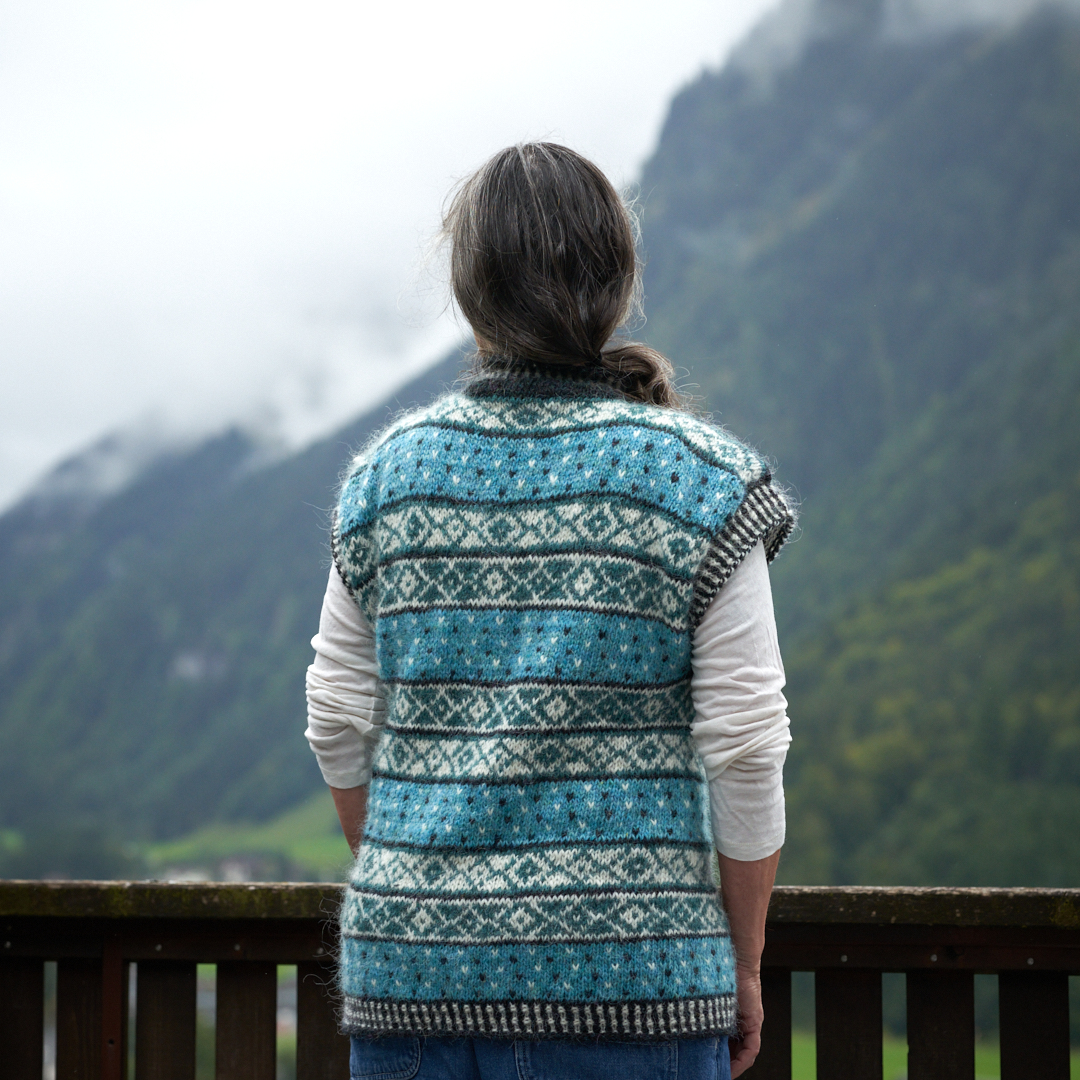
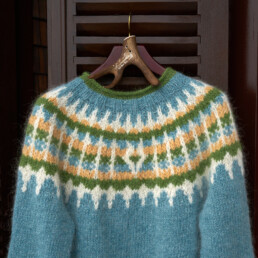
Wailele
This vest is hand knitted with Léttlopi from Iceland.
size: S/M women
round chest: 102 cm
body: 42 cm
armholes: 26 cm
overall length from shoulder: 68 cm
price: CHF 95.00 plus shipping fee
ONLY 1 AVAILABLE!
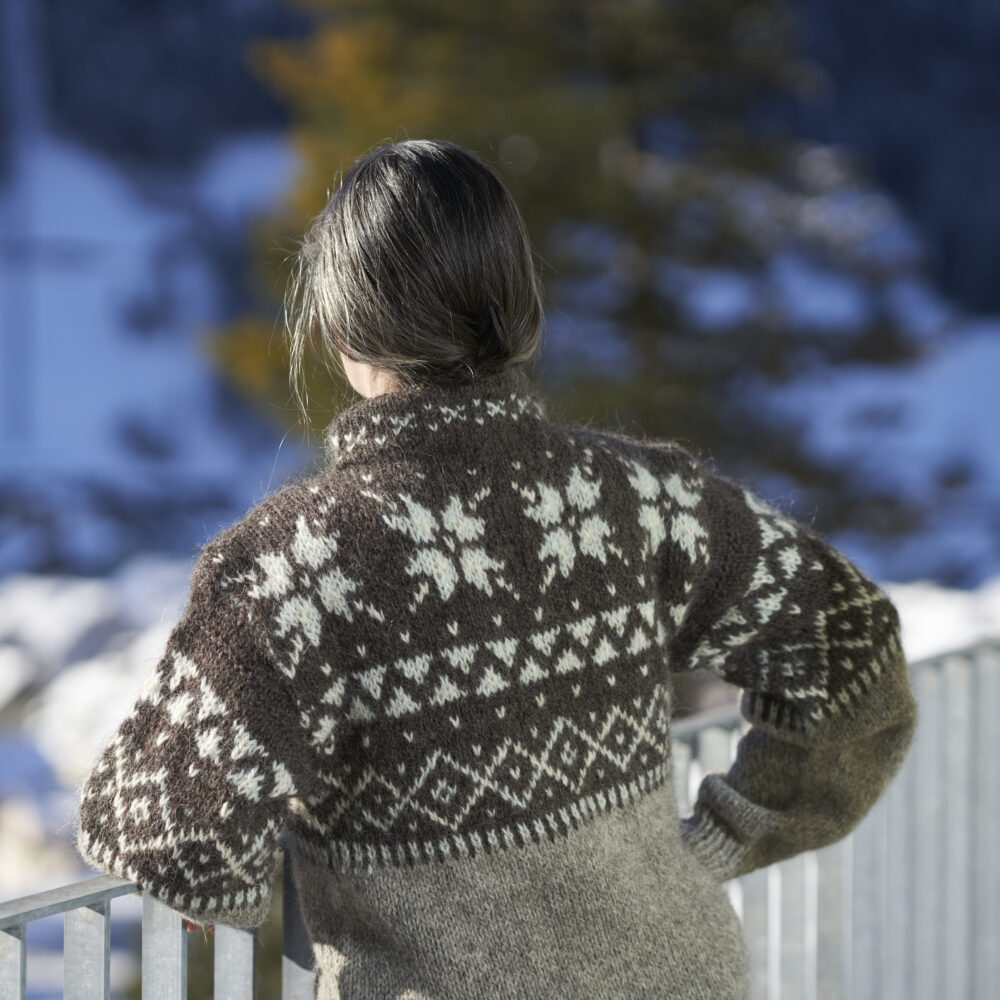

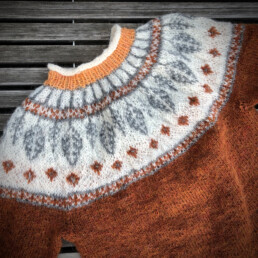
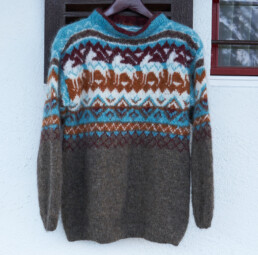
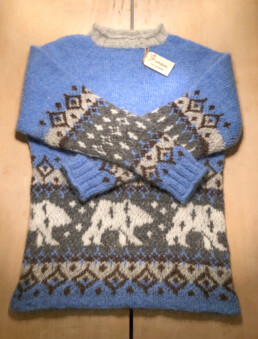
Flak
This sweater is hand knitted with "Lofoten Wool" from Norway. The wool comes from native Norwegian sheep breeds and has same outdoor characteristics as Iceland wool.
size: M women or S men
round chest: 100 cm
body: 43 cm
sleeves: 56 cm
overall length from shoulder: 68 cm
price: CHF 145.00 plus shipping fee
ONLY 1 AVAILABLE!
Shipping fees & conditions:
Switzerland: CHF 9.00 – International: CHF 25.00
Swiss Post Pac with tracking – International shipping against pre-payment only!
Animal welfare:
When you buy a garment, I will forward the full amount to one of the following organizations:
- Polar Bears International
- Tierschutz für Vergessene Seelen
- Tierheim Paradiesli
- CH Wolf
- Koala Hospital Port Mcquarie
- International Wolf Center (Founder L.David Mech)
Pattern EN
Pattern
digital patterns are available on Ravelry


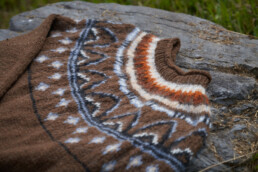
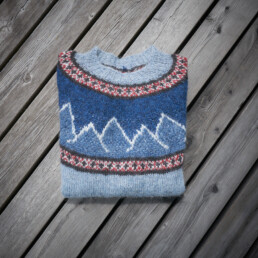
BRÅSVELBREEN
size: S,M,L,XL
Find a tutorial for the Eyelet Mock Cable Rib technique on youtube


Sheep and Wool
Of Sheep and Wool
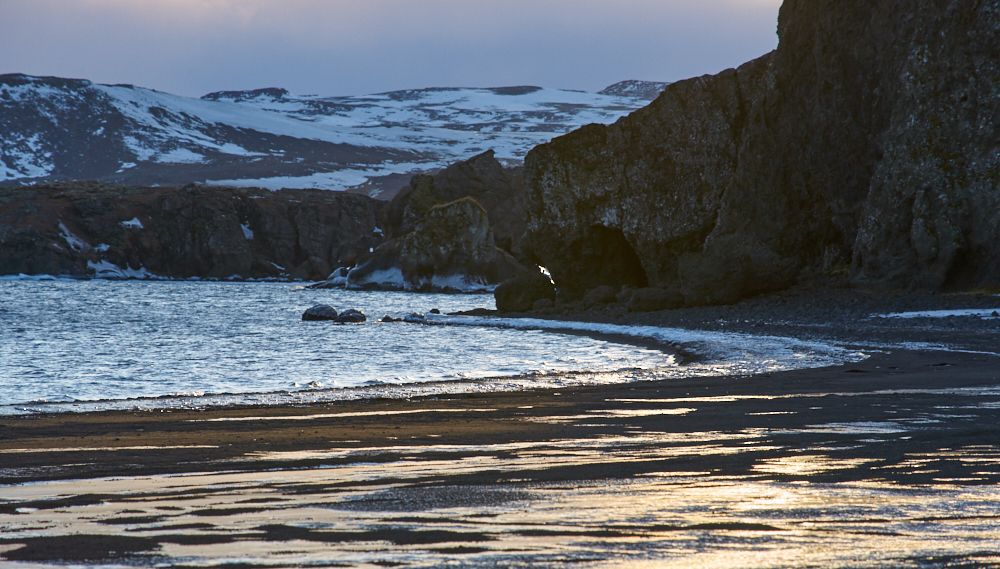
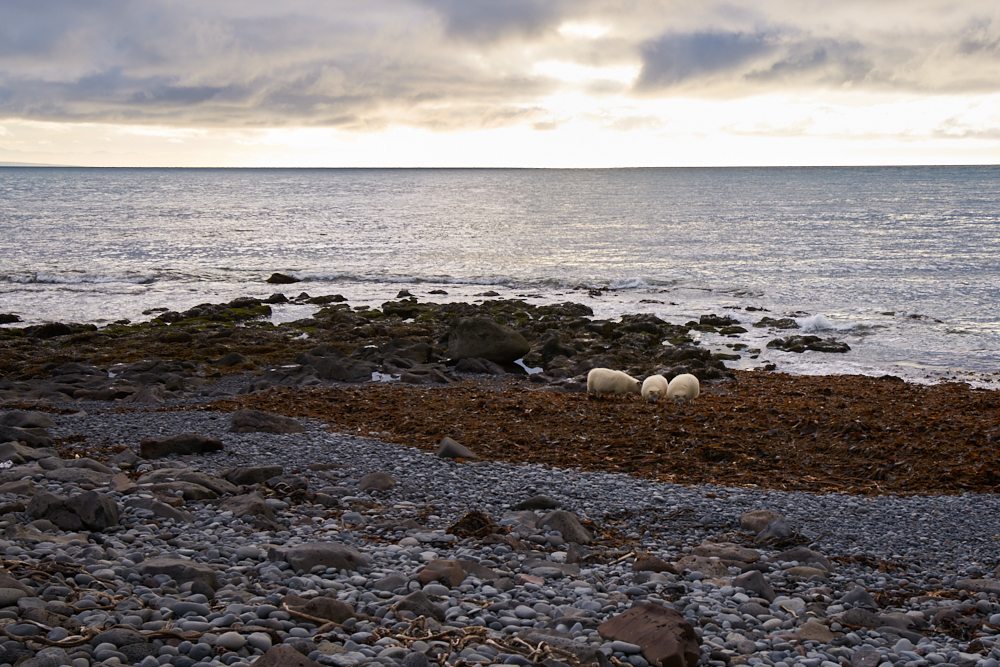
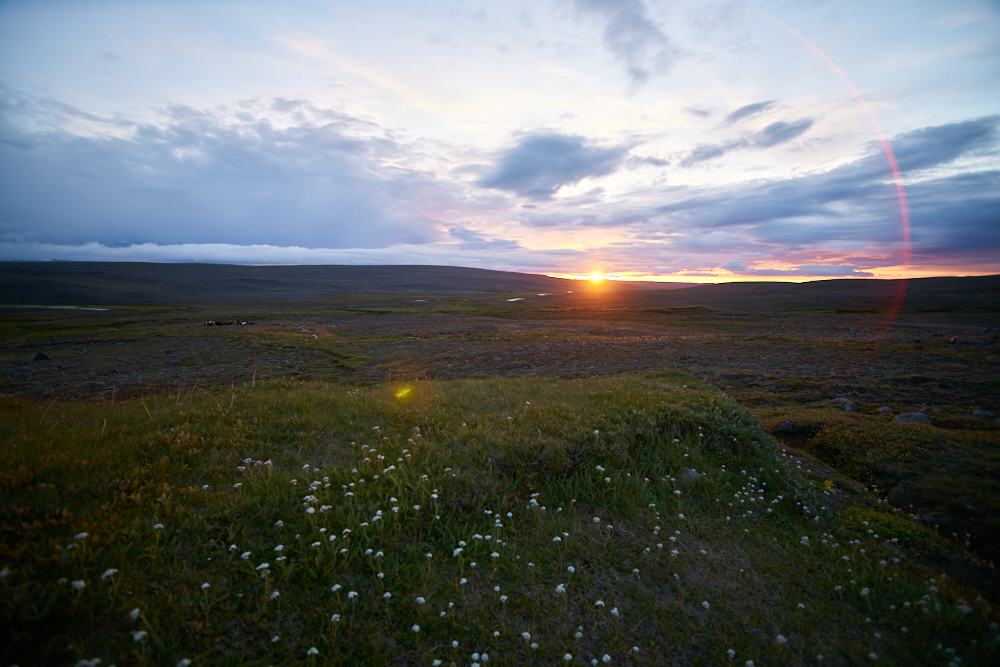
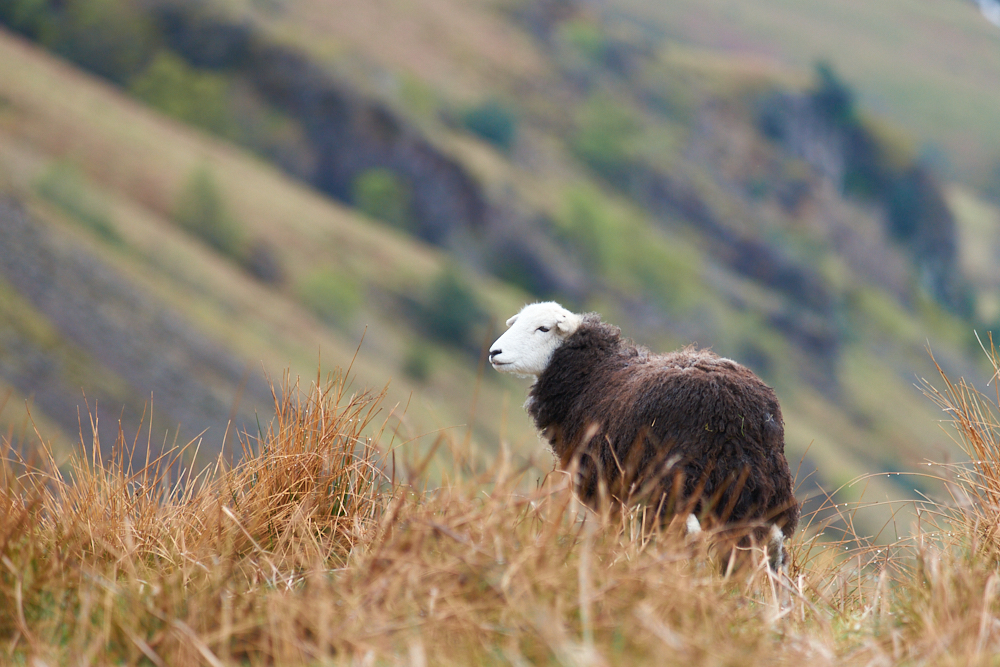
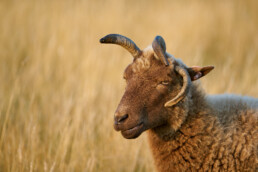
In the north, sheep live outside most of the time, in regions where the climate can be extremely harsh. Especially the old breeds develop a dense undercoat, which is mixed with the upper wool layer and spun into yarn. This yarn is extremely robust and weatherproof and ensures a pleasant exchange of warmth.

The wool from Icelandic sheep is probably best known in our area.
From Spring til the time of “Réttir” in Autumn, these animals are out in nature, during summer also in the highlands, where they roam freely. It is quite possible that they experience all 4 seasons in a single day – a fact that is also reflected in the quality and peculiarity of their wool.
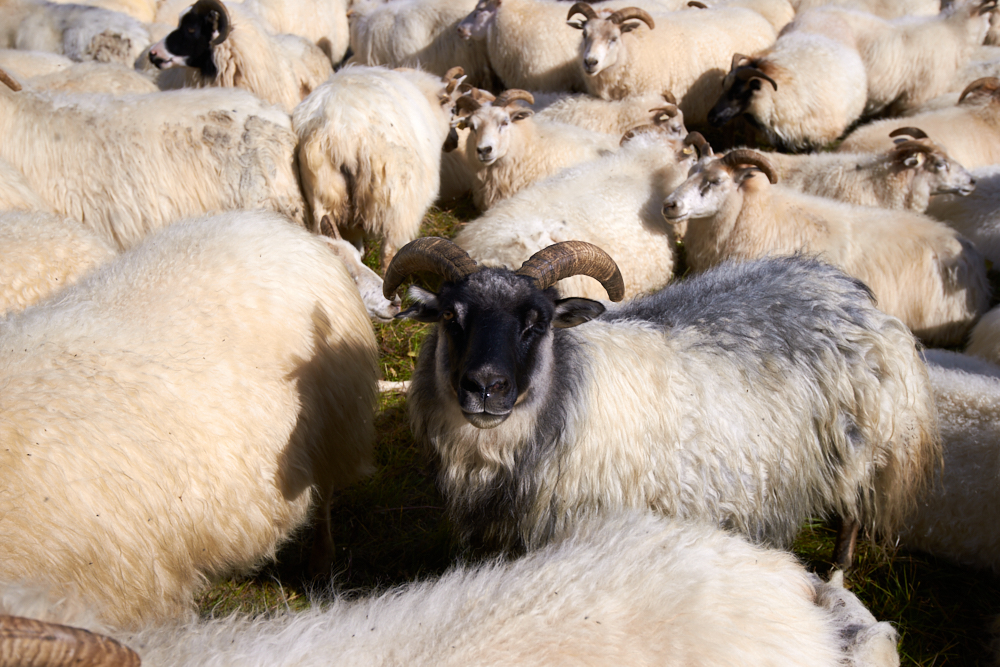
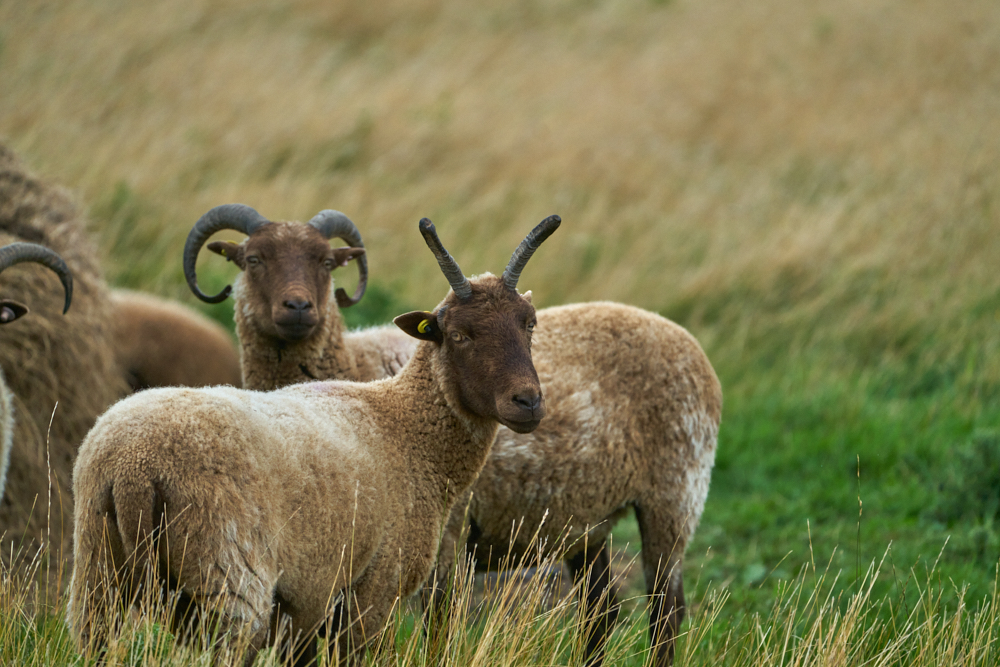
More sheep (native breeds):
- Gammlenorsk Spælsau – an old Norwegian short-tailed breed.
- Shetland sheep – an old, rather small short-tailed breed originating from the Shetland Islands. A peculiarity of this breed are the different natural colourings.
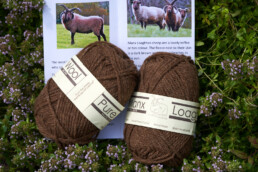
- Manx Loaghtan – an old rare and nearly extinct breed, native to the Isle of Man (UK). Manx Loaghtan have 4 to sometimes even 6 horns
Wool care:
Iceland wool as well as shetland wool is “self-cleaning” and should not be washed if possible.
- Air the jumper regularly, preferably in foggy or humid weather
- Hand wash in lukewarm water (max. 30°C)
- Wrap in a cloth and squeeze gently – do not wring out!
- Slightly pull into shape and let dry lying flat
Iceland wool is weatherproof in snow and light rain but not 100% windproof. In strong winds, a light wind stopper is often worn as extra layer under the jumper. By wearing, the wool becomes slightly denser and adapts to the body
Knits EN
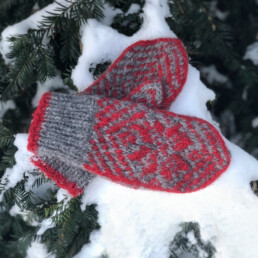
NORDIC KNITTING
Nordic knitting – a broad term.
I define it as knitting traditional patterns from Scandinavia – especially Norway, but also Iceland, the Faroe Islands and Fair Isle (Shetland).
For some time now, these patterns have been experiencing a veritable “revival” and many designers are using parts of these patterns in their creations or at least are inspired by them. Like the wheel, Nordic patterns cannot be “reinvented” – a rhombus remains a rhombus, a circle, a star, a snowflake or the shape of a wave…..It is the combination of the individual elements and colours that creates something new and gives each design its own touch.
This page is still under construction and will be continuously updated – enjoy your visit.
of sheep and wool
patterns
jumpers
gallery
Knives EN
THE PUUKKO
Puukko means knife and is actually the name for the traditional all-purpose knives from Finland. Similar traditional knives are also produced in Sweden and Norway, where they are commonly known as “Scandinavian knives” or “Nordic knives”.
The first Puukkos were already used in the Middle Ages for hunting, carving, housework, gardening and also in the kitchen. This has hardly changed until today. But in the meantime it belongs to the standard equipment of every outdoor person in the far north.
Puukkos have a steel blade of approx. 7 cm – 14 cm length.
From about 15 cm blade length it becomes the “Leuku” – the traditional knife of the Sámi people.
Every now and then I make my own puukko. The hand-forged blades come from Finland – but sometimes also from Yakutia.
My knives are not for sale but I show you here step by step how you too can make a puukko yourself.
step by step
my puukkos
Yakutian125 EN
Yakutian 125
Step by Step
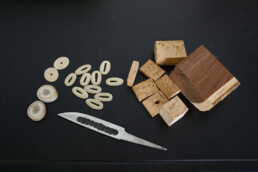
- I think about how I would like to design the handle to match the blade.
- Then I put together the appropriate materials. I take a 2nd bolster with me to the workshop as a reserve if something goes wrong. Actually there are three forms available: bolster with straight slot, bolster with V-slot and bolster with V-slot and finger protection. The last one is slightly longer at the bottom.
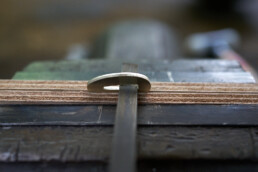
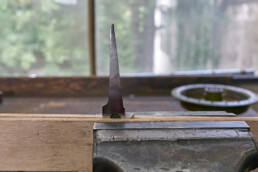
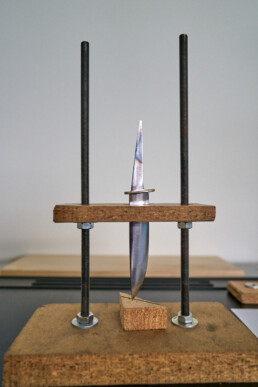
- Now the bolster is adjusted to the blade with a key file. On the photo I clamped the bolster into the vice. In order not to damage the material when clamping, I always use 2 plywood plates quasi as “cushions”.
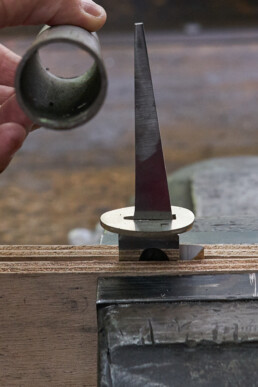
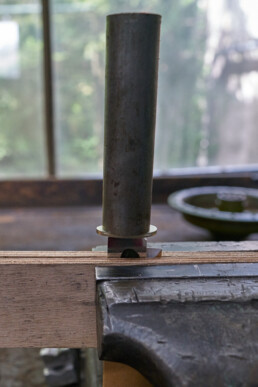
- For the last few millimeters I use a small metal tube and hammer instead of the key file, with the help of which I carefully beat the bolster up to the blade base. This way I can prevent the gap between the bolster and the blade from getting too big. Especially if, as with this knife, the blade is slightly offset at the top and bottom. From now on the bolster for all further steps remains on the tang and all other parts are numbered.
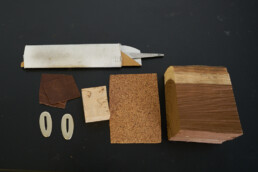
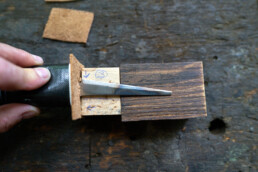
- My 1st spacer this time is a piece of 2 mm cork to compensate for any unevenness. This spacer is not relevant for the look of the handle. I cut a rectangular piece with a pair of scissors, which is about the same size as the next one, and set the slot with a Japanese knife or Puukko so that the bolster matches the middle.
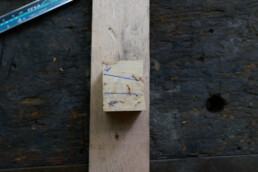
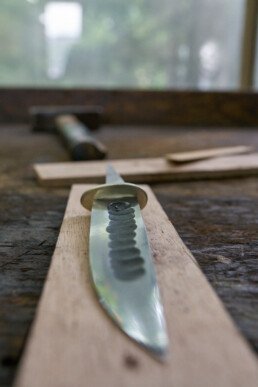
- Next choose a piece of curly birch. So that I know where to drill, the knife is placed on the piece of wood so that the bolster is nicely centered. Afterwards I draw the tang and immediately set an arrow on to which side is below and in front (facing the blade) so that later during gluing the part is placed correctly. I draw the two lines to the front “around the corner” so that I know later how to drill the hole.
- My 2nd spacer are 2 pieces of leather at 1 mm each. These are also cut with scissors and knife in such a way that they correspond to the size of the birch .
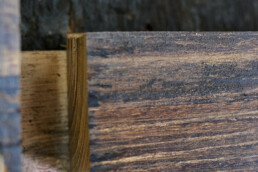
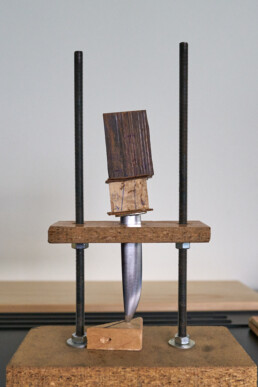
- For the last part of the handle incl. knob I chose a piece of staghorn sumac . But it still has to be cut. For this step I can use a band saw. Unfortunately, I only have a metal saw blade at my disposal, i.e. the wood gets quite hot while sawing and since staghorn sumac is a hardwood I have to do this slowly and with short breaks to clean the blade inbetween. On the photo the “burns” are nicely visible. At the moment this is not so bad, because the wood is grated or sanded again during the shaping of the handle.
- Again the line is drawn around the corner to drill at the right place later. It is important that I clearly indicate where the end of the tang lies so that I know later how and from where I can design the knob. I can also measure how deep the holes have to be.
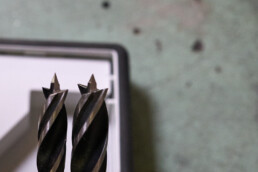
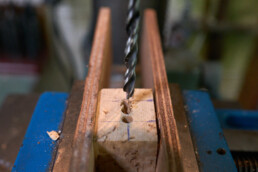
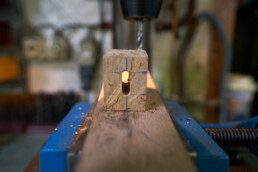
- For the next steps I have a vertical drilling machine at my disposal – of course all this can also be done with a hand drill and is sometimes even of advantage if, for example, depending on the shape of the tang, you have to drill at a slight angle. Here I use my own wood drills, which differ from other drills by their sharp tip.
Depending on the width of the tang, it takes 2-3 drill holes and if the drill slips away between the holes, it must be rasped by hand with a small wooden rasp or file. On these photos you can see why I draw the lines “around the corner”. I have the width of the tang on the front and can place the hole in the middle.
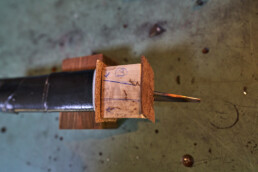
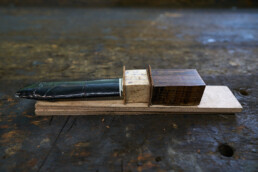
- Now everything is put together again one after the other and checked, before the knife is clamped to glue the handle.
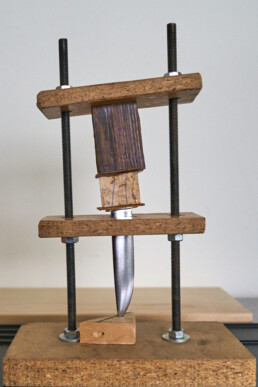
- For gluing I have a self-made clamp which our fitter made for me in the workshop. Advantage: as with this knife, I can also apply pressure at an angle.
- Now part for part is glued with a 2-component adhesive. I take Araldite Classic and let the whole thing harden for at least 24 hours – even better 48 hours. The advantage of a slow hardening adhesive compared to a “Rapid Adhesive” is that I have enough time in case I have to correct something.


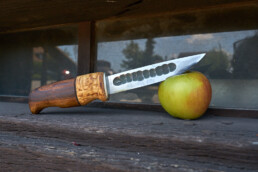
- After the glue has hardened over the weekend, the most important work actually begins – shaping the handle. This can be done by hand with various rasps and files. I have access to a belt grinder, which of course saves a lot of time.
- With the slightly coarser sanding belt I gave the handle its basic shape. For the design of the details I used the Dremel with the small sanding roller.
- If the handle fits well in the hand, everything is fine sanded by hand and finally oiled – in this case with Johnson’s Baby Oil.


Links EN
Signpost
Where do I get what I need:
KNITS:
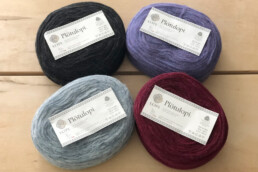
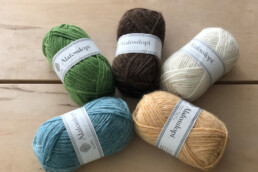
Yarn:
- Istex
- Uradale Yarns Shetland (organic)
- Manx Loaghtan
- Lofoten Wool
- Hillesvåg Ullvarefabrikk
- Fjallagrös
- Strickstudio Christine Knoller
Technics:
Design:
Books:
There are so many good books about nordic knitting and I mentioned some of my favorite designers above. This book here is a collection of more than 400 traditional Norwegian designs and charts.
- Selbu Patterns von Anne Bårdsgård, in Englisch, ISBN: 9781646010882
KNIVES:
Books:
Antler Knife
Fulltang Knife
Kosa
by Ulf Avander – ISBN 978-91-637-7580-2
Video Clips:
Inspiration:
This and That:
- Learning traditional handicraft at the Museum Ballenberg in Switzerland
- Hetta Huskies Summer Wilderness Skills School, Lappish Bushcraft & Survival Courses
- Kuukkeli Bushcraft
- Tundrada
- on tour